Keeping your WooCommerce store fresh and up-to-date is a cornerstone of successful eCommerce. It gives your store a competitive edge by providing the newest features, securing against potential threats, and giving your customers a smooth shopping experience.
The idea of updates can seem intimidating because they can sometimes get a bit complex. But don’t sweat it! We’re here to simplify the process and guide you through every single step.
For a bit of fun, let’s imagine if our store owners were characters from the iconic Friends sitcom when it comes to handling WooCommerce updates:
- The “Ross Geller”: Like Ross’ occasional impulsive behavior, these store owners quickly press “update” without fully considering the possible outcomes.
- The “Joey Tribbiani”: Reflecting Joey’s easy-going nature, these owners are often quite chill, treating updates as if they’re an optional extra rather than a necessity.
- The “Chandler Bing”: Chandler was known for his anxiety towards change and commitment. Similarly, these store owners accumulate old plugins and themes due to their fear of updates.
- The “Monica Geller”: Monica’s precision and love for order resonate with these store owners. They regularly backup, test new WooCommerce releases on a staging site, and confidently update their live site with no problem.
The goal for every WooCommerce store owner should be to channel their inner “Monica Geller”. It’s not as tough as it sounds! With the right tools, a detailed testing routine, and a little bit of automation, you can keep your WooCommerce site updated and running smoothly.
Now, with the Friends fun out of the way, let’s dive straight into this detailed guide to updating your WooCommerce store.
Step 1: Backup Your Website:
The first and most crucial step before performing any updates is to backup your entire website. This includes all the data, files, and database components. Think of it as creating a safety net; if you were to experience a fall, you’d want something to catch you. Similarly, a backup ensures you can revert to the previous state if anything goes wrong during the update. Several WordPress plugins facilitate this process, enabling you to backup your website data quickly and securely.

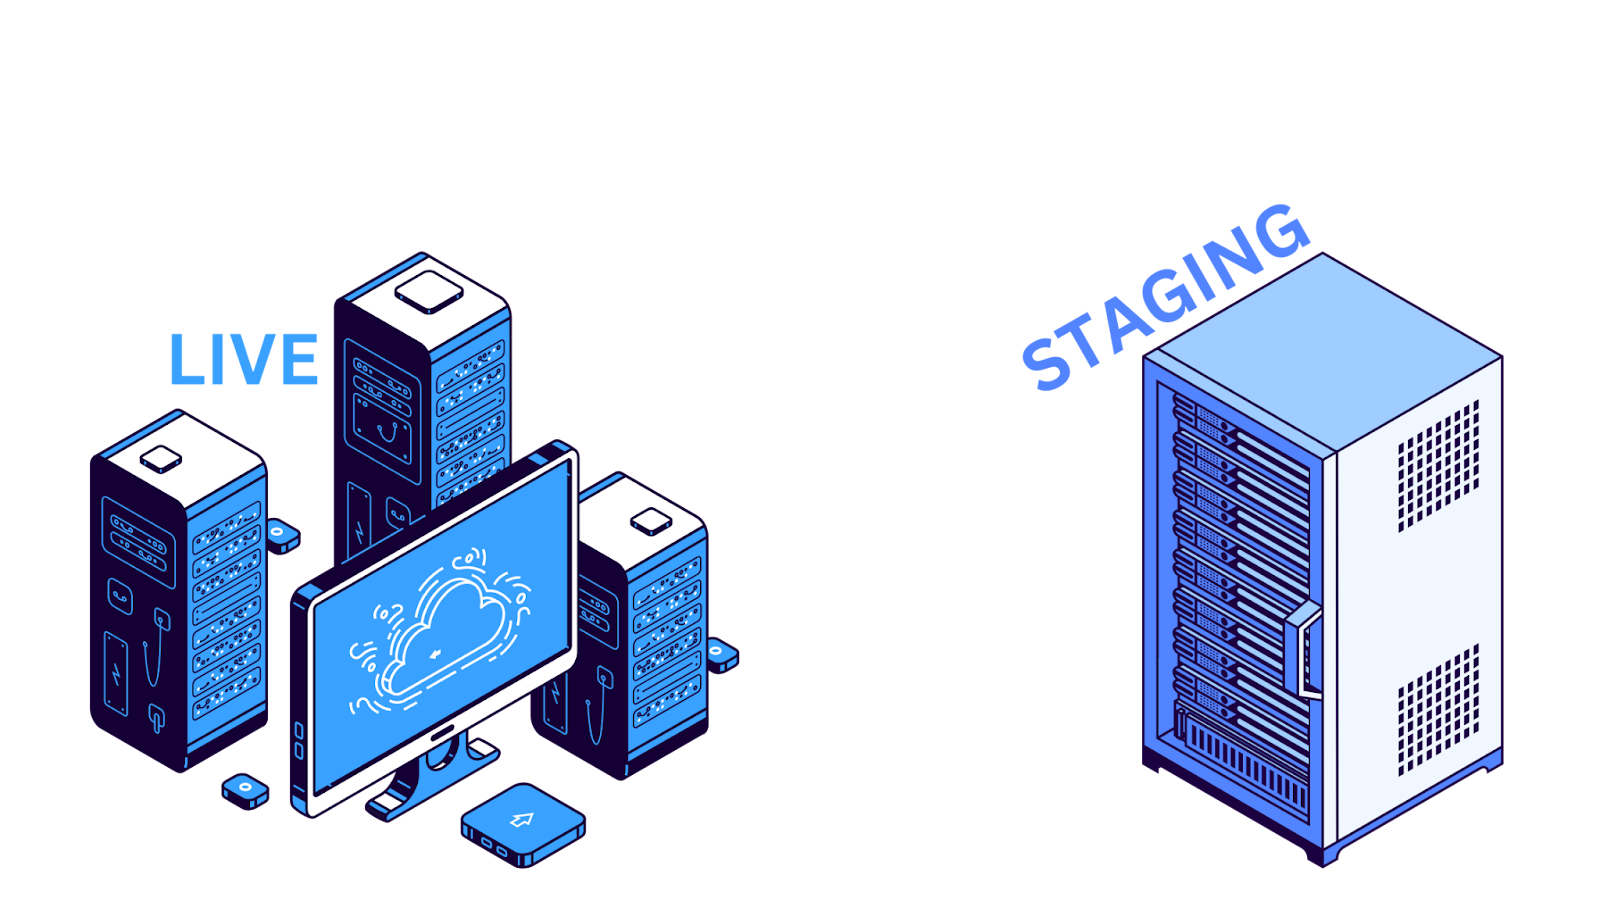
Step 2: Set Up a Staging Environment:
Next, create a staging environment. This replica of your live website is a safe testing ground where you can experiment with updates without risking your live store’s functionality. Several staging plugins can help you with this, or you might prefer creating a subdomain or subdirectory on your hosting account.
Step 3: Update WordPress Core:
Before proceeding to WooCommerce-specific updates, make sure your WordPress core, the foundation of your eCommerce store, is up-to-date. You can check for updates by navigating to the “Dashboard” -> “Updates” in your WordPress admin. If there’s a new version available, click “Update Now” to apply it.

Step 4: Update Themes:
Themes are the aesthetic pillars of your website, dictating how your store looks and feels. Once your WordPress core is updated, it’s time to ensure your themes are current. To do this, go to “Appearance” -> “Themes” in your admin area. If there’s an update available for your theme, you’ll find an “Update Now” notification. Clicking on this will start the update process.

Step 5: Update Plugins:
Plugins are the functional elements of your WooCommerce store, each offering a different feature or service. To keep your store running smoothly, keeping your plugins updated is essential. Visit the “Plugins” section in your WordPress dashboard to review the plugins that need updating. You’ll see an update notification next to each one that has a new version available. Click on the “Update” button next to each plugin to initiate the update.

Step 6: Identify Overridden Templates:
In a WooCommerce store, overridden templates are the files you’ve modified to personalize the store’s functionality or appearance. Identifying these before proceeding with updates is vital to avoid losing your customizations.
Step 7: Backup Overridden Templates:
After identifying the overridden templates, create a backup for these files. This step is similar to preserving a custom-made piece of artwork during a home renovation. The backup will ensure your customizations remain safe during the update process. Store these files in a secure location, separate from your website’s directory.
Step 8: Review Updates and Changelog:
Now that you have identified and safeguarded your customizations, prepare for the updates. Think of this as getting a manual for new appliances—you want to know what’s new and how to use it. The changelog for the new version of WooCommerce, plugins, and templates will highlight changes, improvements, or new features. Reviewing these changes will give you insights into potential impacts on your customizations.
Step 9: Test Plugin and Template Updates on Staging:
Next, you’ll want to test your updates, like test-driving a car before purchase. On your staging site, deactivate the plugins you wish to update. Then select each plugin and hit “Update.” After updating, verify the plugins function correctly. For the overridden templates, copy your customizations to the new template versions, then test them to ensure they work as expected.
Step 10: Verify Staging Test Results:
Following your test runs, it’s time to review the results. Are all functionalities intact? Is the performance up to par? Does everything appear as you’d expect? If there are issues or conflicts, troubleshoot them and make necessary adjustments.
Step 11: Perform Updates on Live Site:
Once you’re confident about your staging test results, replicate the process on your live site. Deactivate the corresponding plugins and templates, then proceed with the updates as you did on the staging site.
Step 12: Test Your Store:
After updating your live WooCommerce store, it’s time to conduct a thorough test. This should include every feature—browsing products, adding items to the cart, processing payments, etc. This comprehensive check ensures your customers have a seamless shopping experience post-update.
Step 13: Document Customizations:
The final step is to create a document outlining your changes to the overridden templates, along with any additional notes or dependencies. This record is like a home renovation diary, providing valuable insights for future updates, theme switches, or template customizations.
Conclusion:
Updating your WooCommerce store doesn’t need to be scary. By following the steps outlined in this guide, you can maintain your store’s security, functionality, and performance while taking advantage of the latest WooCommerce features. Remember, regular updates are not just housekeeping, they’re about constantly improving your store and providing the best possible experience to your customers.
If you encounter any issues or need clarification on any of these steps, please feel free to reach out to our WooCommerce Experts. We are here to assist you in your WooCommerce journey, making the path smoother and more profitable for you.