 For any software development company, versioning is a darn important part of the development process.
Software versioning is important because:
- It maintains the history of your code and the sequence in which changes were made
- It maintains the latest copy of your code in case your computer crashes
- It helps manage code properly when collaborating with other developers
You’ll understand the importance right away, when a developer you’re working with makes and edit that can’t be reverted or when a client accidentally deletes a file.
Trust me that happens.
Now a versioning system is important for everyone. But if you just have a couple of projects you’re working on, just SVN should suffice. It is always better to install the minimum number of softwares on your server. You wouldn’t really need to use a Subversioning management software like SubersionEdge or UberSVN. To create repositories, you could use the svnadmin command.
But on the other hand, if you are going to manage multiple SVN repositories, you will need an SVN management software. And one such softwares is SubersionEdge by CollabNet.
In this article, I’m going to talk about installing this very software on Ubuntu.
[space]
Installing SubversionEdge on Ubuntu
Step #1 The Prerequisites
So, we start with the prerequisites. The prerequisite for SubversionEdge is Java. Hence, to begin with, we’ll have to install Java.
Now, if you’re not sure if Java is already installed, you can fire the below command to check the same:
java -version
If Java is installed the Java version should be displayed.
Open your terminal and follow below commands to install Java:
sudo apt-get install python-software-properties
sudo add-apt-repository ppa:webupd8team/java
sudo apt-get update
sudo apt-get install oracle-java7-installer
We’ll need to locate the exact path where Java has been installed.
The Java executable should be saved at /usr/lib/jvm/java-7-oracle/jre/bin/java.
If you want to verify the path, you can do so using the below command:
which java
Now, don’t trust the path listed as the actually path. It might merely be a shortcut link. For example, let’s say it lists /usr/bin/java. This path could be a shortcut link. To find out actual path, fire
ls -al /usr/bin/java
This will show where it is symlinking to. Go to that path and see if you find other java files in the same directory. If you don’t find other Java files there, then this new path is also a symlink. You’ll need to fire ls -al with this new path, to again try and trace the actual location.
Once we get the actual path, we need to set the environment variable JAVA_HOME as the Java installation path, as CollabNet SVN software uses this variable.
To set this variable, fire the command, specifying the path where Java is installed.
export JAVA_HOME=/usr/lib/jvm/java-7-oracle/jre
Now, we’ve Java installed and have configured the JAVA_HOME variable. Let’s install CollabNet SVN.
Step #2 Installing CollabNet SVN
Download the latest version of Subversion Edge from CollabNet. It should be a tar.gz file.
Then, use the below commands to install the software. Do remember to replace CollabNetSubversionEdge-5.0.1_linux-x86_64.tar.gz with the tar.gz file you’ve downloaded from CollabNet.
cd ~
tar zxf ~/Downloads/CollabNetSubversionEdge-5.0.1_linux-x86_64.tar.gz
cd csvn
sudo -E bin/csvn install
sudo -E bin/csvn-httpd install
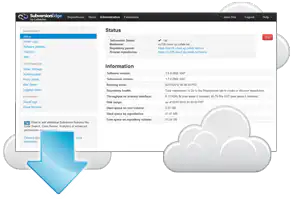
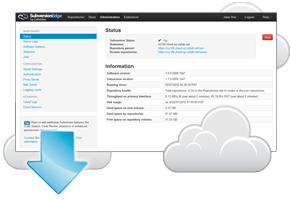
CollabNet SVN should now be installed. All we need to do, is start their console and start using the application.
To start their console, fire the command
bin/csvn start
Once this command runs successfully, you can view CollabNet SVN at work by heading over to http://:3343/csvn
That’s it! Hope you’ve got the service up and running. If you run into any problems, you can shoot me a question as a comment, and I’ll try my best to help you out. :-)
Good luck managing your repositories!