Let me paint you a picture. Last month, my client Sarah called me in a panic. Her handmade jewelry store was getting featured in a major lifestyle blog, and she was terrified her website would crash under the traffic surge.
We had exactly 48 hours to prepare.
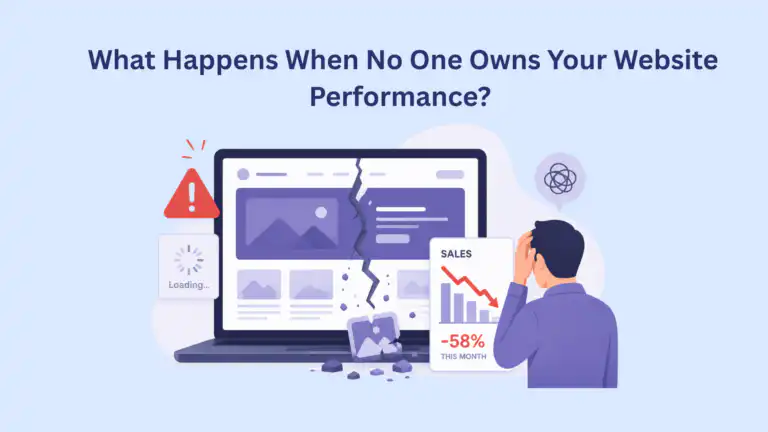
Here’s the thing—her site was already struggling with just 50 daily visitors. Every product page took 4+ seconds to load, and during her weekend sales, the site would practically freeze.
The culprit? Her WordPress site was hammering the database with the same queries over and over again. Every single visitor triggered 60+ database requests just to view a simple product page.
Fast forward to today: Sarah’s site handled 2,000 visitors in one hour without breaking a sweat. Page load times dropped to under 1 second. The secret weapon? Properly implemented object caching.
The Database Query Nightmare (And Why Standard WordPress Caching Isn’t Enough)
Most WordPress sites are guilty of database abuse. Every time someone visits your homepage, WordPress asks the database:
- “What are my latest posts?”
- “What’s in my navigation menu?”
- “Show me this user’s cart contents”
- “What are my site settings?”
And it asks these same questions for every single visitor, even though the answers rarely change.
WordPress does include basic object caching through the WP_Object_Cache class, but here’s the catch—it vanishes the moment your page finishes loading. It’s like having a notepad that erases itself after every use.
External object caching solutions like Redis and Memcached solve this by remembering answers across multiple visits. Instead of asking your database the same question 500 times per hour, WordPress asks once and remembers the answer.
Real Performance Numbers (From Actual Client Sites)
Let me share some real numbers from sites I’ve optimized:
Sarah’s jewelry store (before object caching):
- 4.2-second average page load time
- 58 database queries per product page
- Site crashed at 80+ concurrent users
- 32% cart abandonment rate
After implementing Redis:
- 0.8-second average page load time
- 12 database queries per product page
- Handled 400+ concurrent users smoothly
- 19% cart abandonment rate
Local restaurant site (WooCommerce + complex menu system):
- Went from timing out during dinner rush to serving 1,200+ visitors simultaneously
- Database load dropped by 75%
- Mobile page speed jumped from 23 to 89 (Google PageSpeed score)
The pattern repeats itself: sites typically see 60-80% improvement in load times within the first week.
Redis vs Memcached: Which Should You Choose?
I get this question constantly, and honestly, both are excellent. Your choice depends on your specific needs:
Choose Memcached If:
You’re running a straightforward blog, brochure site, or simple WooCommerce store where occasional cache rebuilding isn’t a big deal. Memcached is incredibly fast and uses minimal server resources.
Real example: A local bakery’s WordPress site with 20 products and basic contact forms. Memcached handles their traffic peaks perfectly, and the simplicity means less potential points of failure.
Choose Redis If:
You’re running a complex WooCommerce store, membership site, or anything where losing cached data would be painful. Redis can survive server restarts and offers advanced features you might need as you grow.
Real example: An online course platform with user-specific dashboards, complex product catalogs, and subscription management. Redis’s data persistence means students don’t experience slowdowns even after server maintenance.
Here’s my honest recommendation: Start with Redis. The performance difference is negligible for most sites, but Redis’s data persistence can save you headaches down the road.
Implementation Options (Choose Your Comfort Level)
Option 1: Managed Hosting with Built-in Caching
Best for: Non-technical users who want results without the hassle
Hosts like Kinsta, WP Engine, and Cloudways offer one-click Redis activation. You literally toggle a switch, and you’re done. Yes, it costs more ($30-100/month extra), but you get professional monitoring and automatic updates.
I recommended this route to a busy entrepreneur who runs three WooCommerce stores but has zero interest in server management. Two clicks later, all three sites were optimized.
Option 2: Self-Managed Implementation
Best for: Technically inclined users who want control and cost savings
This requires VPS hosting with root access and basic command-line comfort. The setup takes about 45 minutes, ongoing maintenance is minimal, and it costs $5-20/month in additional server resources.
Here’s the basic Ubuntu installation:
# Install Redis
sudo apt update
sudo apt install redis-server php-redis -y
sudo systemctl enable redis-server
Add to wp-config.php:
define(‘WP_REDIS_PREFIX’, ‘yoursite’);
define(‘WP_REDIS_MAXTTL’, 14400);
Install the “Redis Object Cache” plugin by Till Krüss and activate it.
Common Mistakes I’ve Seen (And How to Avoid Them)
Mistake 1: Implementing caching without fixing the root problems Object caching won’t fix a fundamentally broken site. Clean up your plugins, optimize images, and fix database issues first.
Mistake 2: Not monitoring cache performance Set up basic monitoring to track cache hit rates. Anything below 80% suggests configuration issues.
Mistake 3: Forgetting about cache invalidation When you update products or content, cached data should refresh automatically. Test this thoroughly, especially for WooCommerce inventory updates.
When Object Caching Makes the Biggest Difference
I’ve seen object caching work miracles for:
- WooCommerce stores with complex product catalogs
- Membership sites with user-specific content
- News sites with frequent content updates
- Any site experiencing traffic growth
But let’s be honest—if you’re running a simple blog with 500 monthly visitors, you probably won’t notice dramatic improvements. Focus on image optimization and basic page caching first.
Your Next Steps
Week 1: Test your current site speed using GTmetrix or Google PageSpeed Insights. Document your baseline numbers—you’ll want to celebrate the improvements later.
Week 2: Choose your implementation path and set up object caching. Start with default settings and test thoroughly.
Week 3: Fine-tune your configuration based on real performance data. Monitor cache hit rates and adjust settings as needed.
The reality is that object caching represents one of the highest-impact optimizations you can implement. Sites with proper caching handle traffic spikes that would crash uncached sites, support more complex functionality without performance penalties, and provide consistently fast experiences regardless of visitor load.
Whether you go the managed route or roll up your sleeves for a DIY implementation, the investment pays for itself quickly through improved user experience, better search rankings, and reduced server costs.
Your WordPress site is probably working way harder than it needs to. Object caching gives it a well-deserved break while making your visitors happier in the process.
Ready to give it a try?