 In an informative, business, educational site or blog, notifying people about new updates, events or offers, is a kind of service you provide. When people read the content you write or the services you offer and are happy with it, they want to subscribe to your updates, offers or newsletters via emails. This technique of spreading information or advertising through emails is called email marketing.
In this post, I will explain to you how to create a simple subscription form using MailChimp for WP plugin for your WordPress site or blog.
[space]
MailChimp as an Email Marketing Service Provider
Firstly, to register and maintain subscribers, you need to start by choosing an email marketing service provider. An email marketing service provider basically maintains a list of subscribers and helps you send mass emails.
I choose MailChimp because it is a fairly easy-to-use service, and the MailChimp for WP plugin helps me easily integrate subscription forms into my WordPress site.
[space]
Get started with MailChimp and create a list
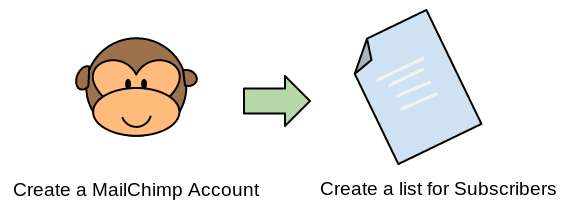
- Create an account on MailChimp: An email is sent to your registered id. Follow the instructions to activate your account.
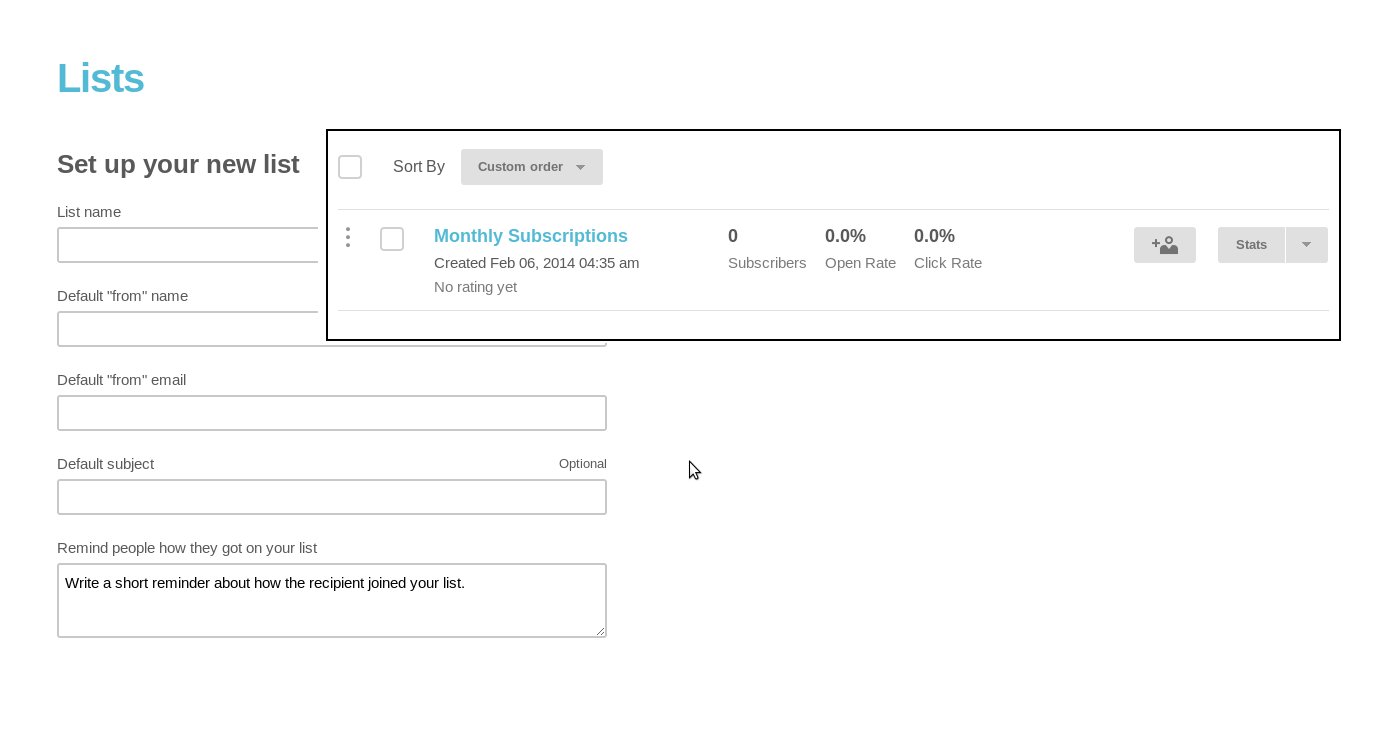
- Create a list to maintain subscribers: Inside you MailChimp account, create a list. A list will basically help you group subscribers. Every time a user subscribes, the email address will be added to this list. For example, I created a ‘Monthly Subscriptions’ list to keep a list of users, whom I would want to mail on a monthly basis.
Install MailChimp for WordPress plugin to Create Subscription Forms
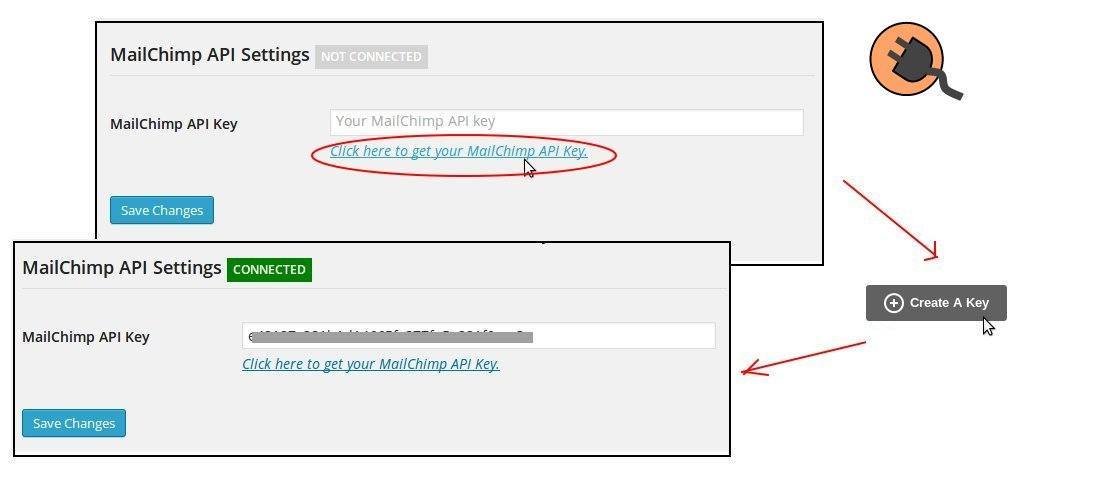
- Install the MailChimp for WP plugin: After activating the plugin, click on MailChimp Settings. It will ask you for your MailChimp API Key (use the link to get your API key. It will take you to your MailChimp account. If you do not have a key, create a new key)
-
Create a Form for subscription: Select a list, this form will be used for (I would use the ‘Monthly Subscriptions’ list). Create the form by adding the desired fields, like name, email, etc and a submit button. You can also specify if the field is required or optional.
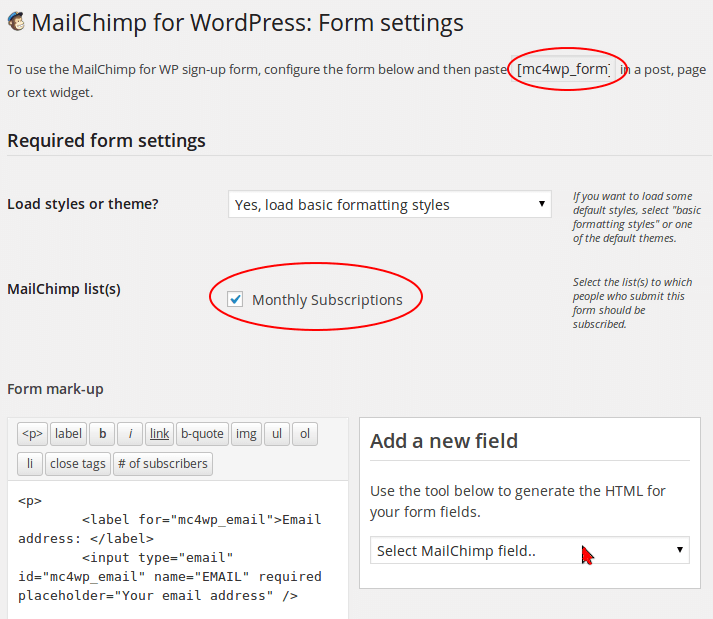
- A shortcode is created for every form. Just place this shortcode inside any post, page or widget to display the subscription form.
Go back to your MailChimp account on a timely basis to send out emails
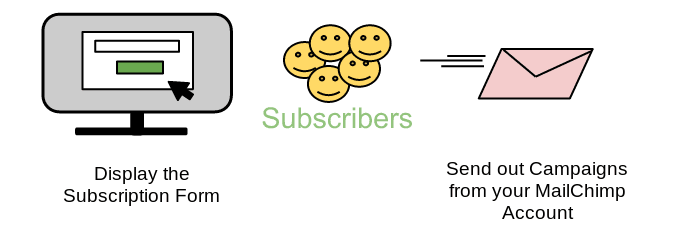
Once people start subscribing and the ‘Monthly Subscriptions’ list is populated, you can go back to your MailChimp account and create a campaign to send out information to everyone on the list.
You may also like reading: Learn how to use MailChimp to send out Wedding Invites.
[space]
Personally, I found this to be a very simple and straightforward method, to add subscription forms to any WordPress site or blog. The MailChimp for WordPress plugin was very simple to use and helpful. Since MailChimp is a well known email marketing service provider, it has numerous features, which you can avail to your liking.
Remember, offering subscriptions is the easy part. The difficult and more important part, is offering good content. And similarly, to improve the content that I offer, I need your valuable feedback :), so do leave your comments in the comment section below.


