- Make sure the LearnDash LMS plugin is installed and the License Key is activated.
- Make sure the Group Registration plugin is installed and the License Key is activated under “WISDMLABS License Options”.
- You are ready to allow your Group Leaders to manage and view their respective Groups now.
How to Create, View and Manage Groups using the Group Registration plugin:
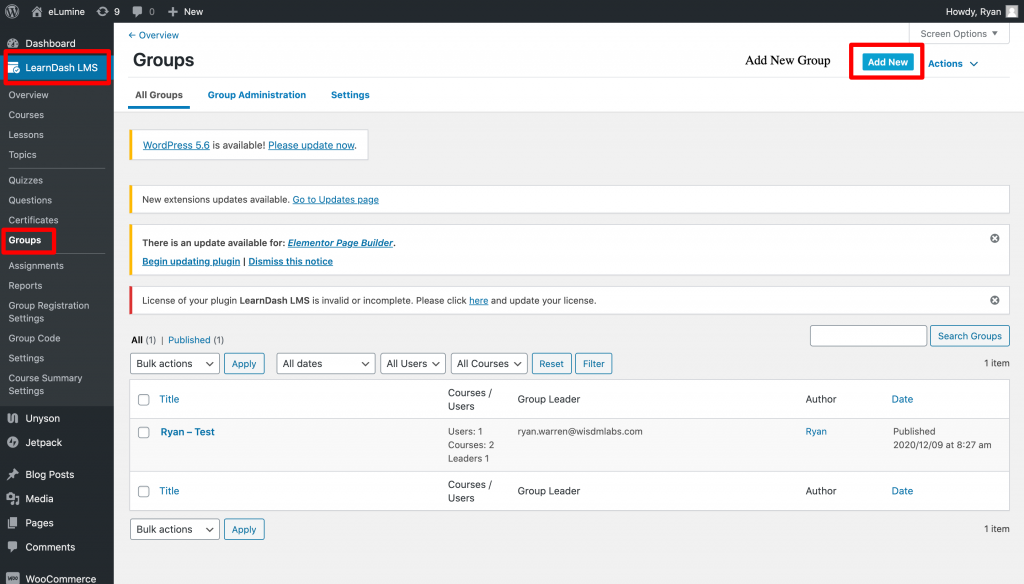
- Go to the backend of your WordPress and then go to ‘LearnDash LMS’ > ‘Groups’ > ‘Add New’.
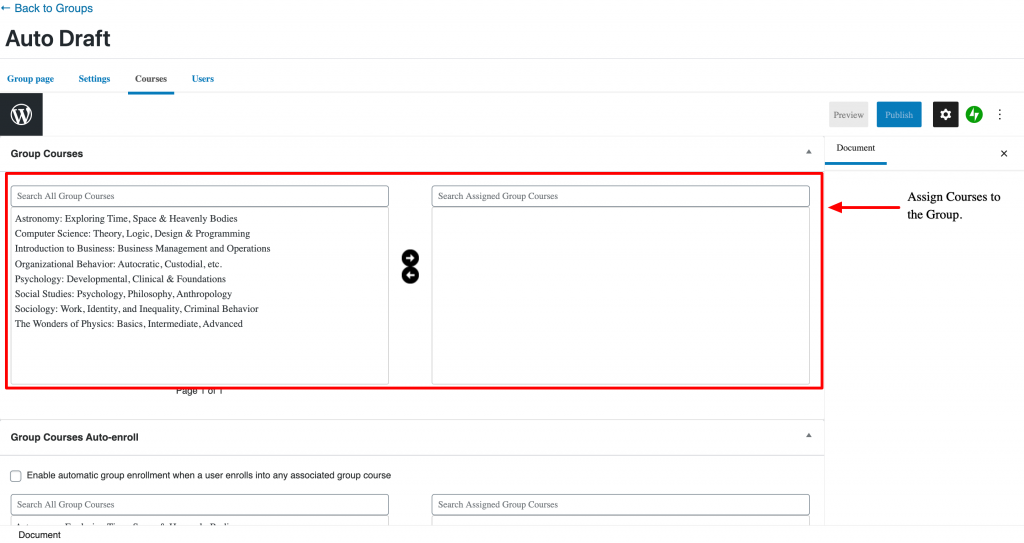
- Create Groups from there. Edit the Group and assign courses to the Group.
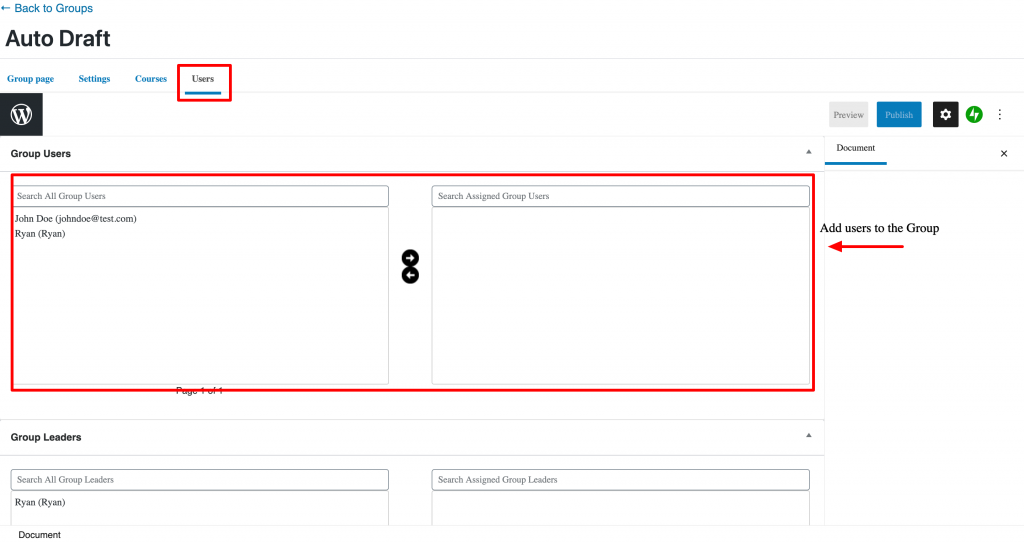
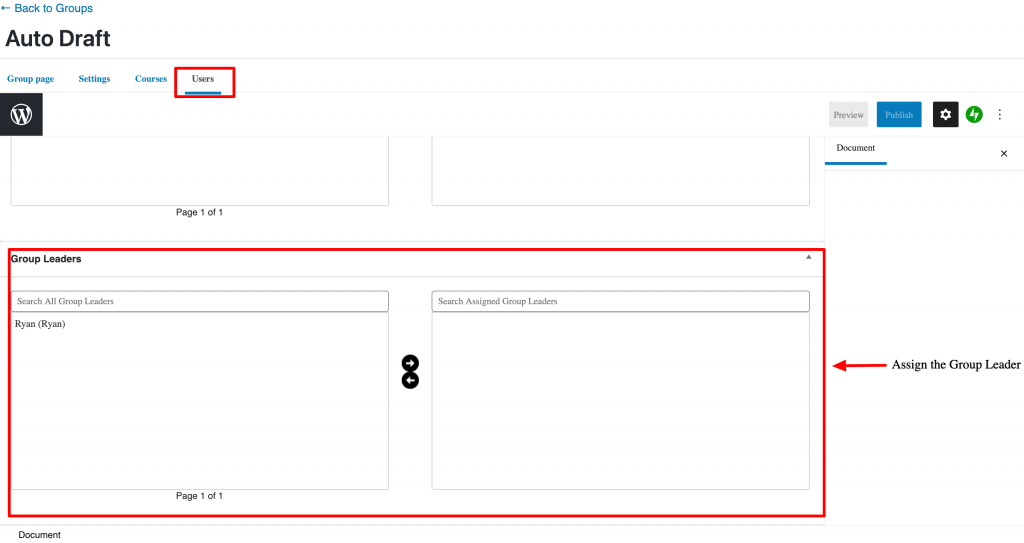
- Assign the Group Leader from the enrollees of the Group under ‘Edit Group’ > ‘Users’ tab.
- You can add existing users on your site to the Group from the ‘Users’ tab as well.
- Now, your groups are created and are ready to be viewed and managed.
- Go to ‘Pages’ in your WordPress backend and then search for the Group Dashboard page that is auto-created when you activate the Group Registration plugin.
- Only Group Leaders and the admin can view this page.
- The Group Leader can view/manage his/her own groups from here.
- Here’s how to use the Group’s Dashboard.
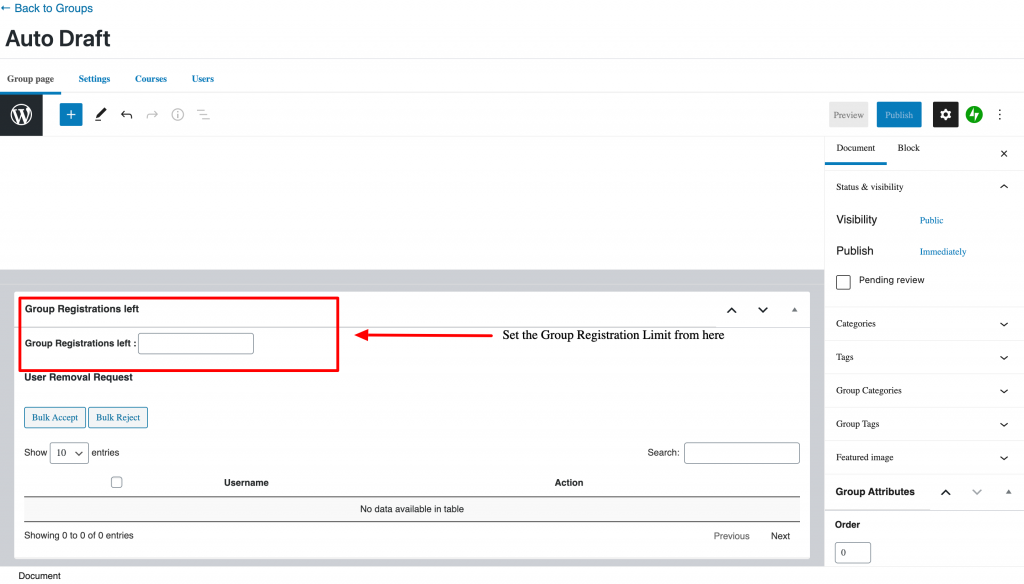
- In-case the Group Leader has exhausted the number of seats om his Group, the admin can simply increase the limit from the Edit Group Page, from the “Group Registration Left:” tab.