There are several special fields displayed on the user’s BuddyPress profile page such as
- Education
- Achievements
- Profile
- Residence
- Facebook Profile link
- Twitter Profile link
- Youtube Profile link
These fields are special because they are shown in a unique prefixed location on the profile page when enabled.
To configure this for your users, you need to follow these two steps:
- Create the fields.
- Map them to the locations in the Profile page.
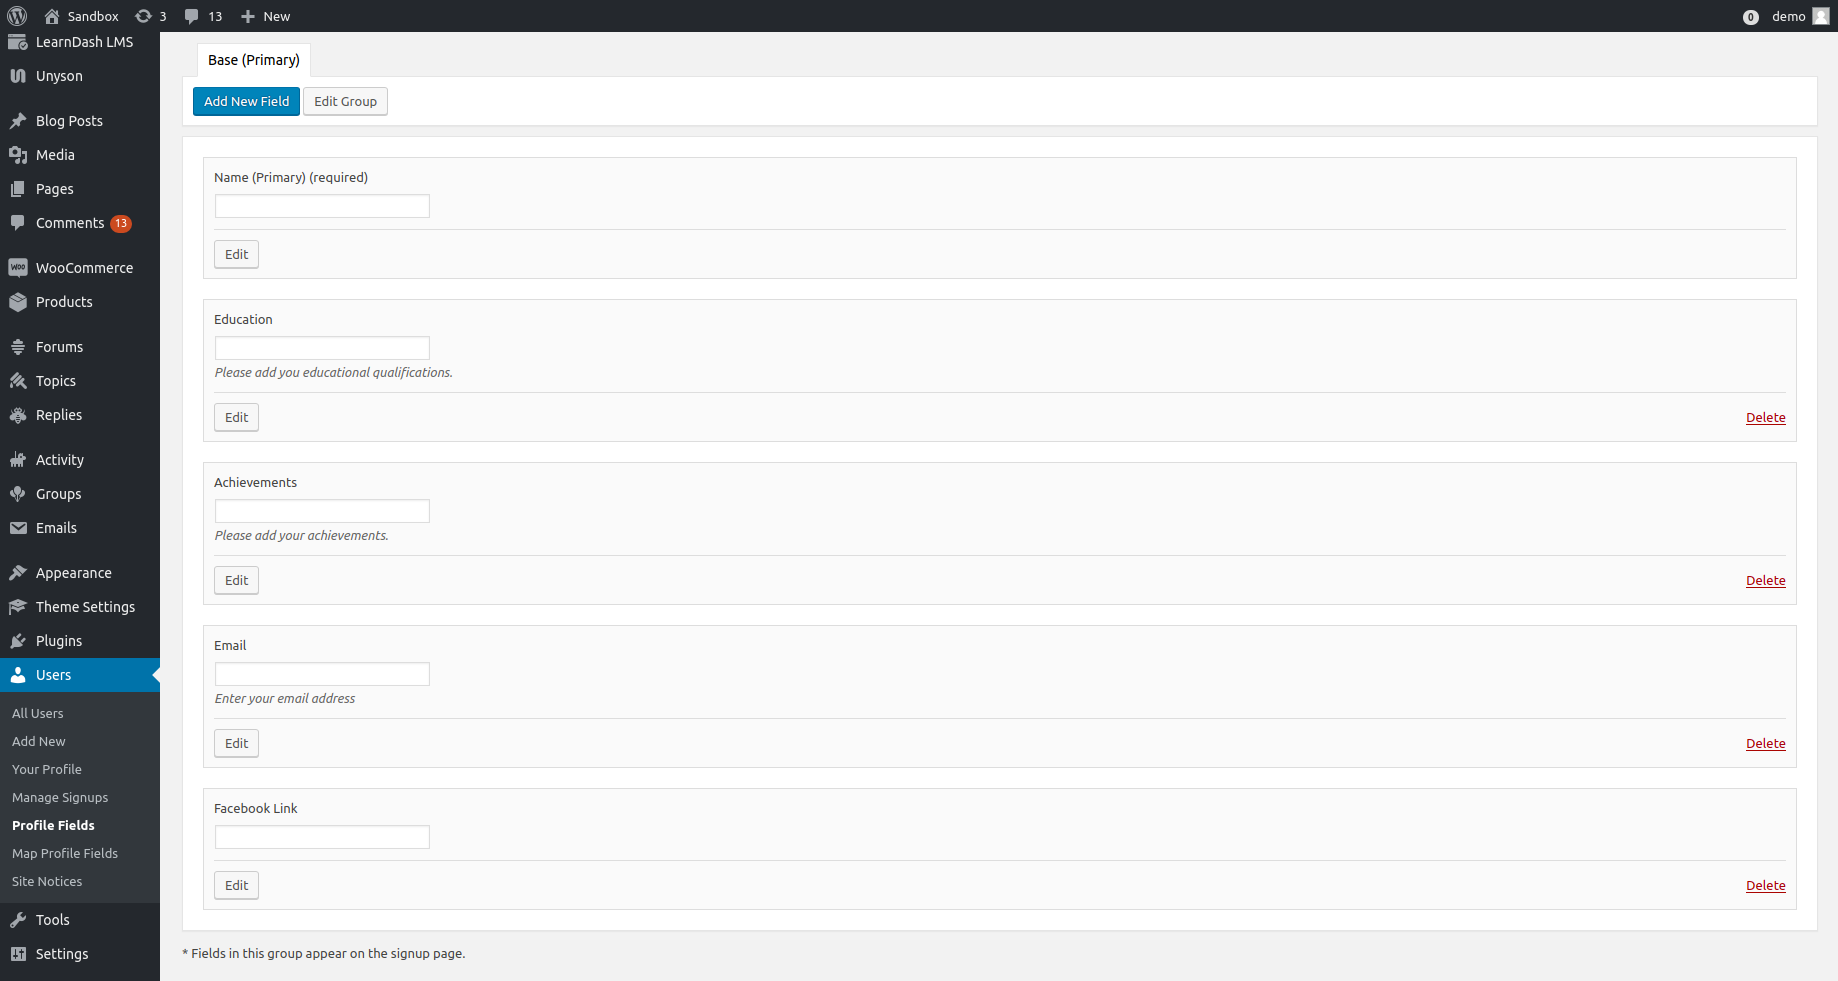
Create BuddyPress Profile Fields
- To create the BuddyPress fields navigate to Dashboard > Users > Profile Fields menu page.
- Click on the “Add New Field” button.
- Create the above mentioned 8 fields (only those you wish to use).
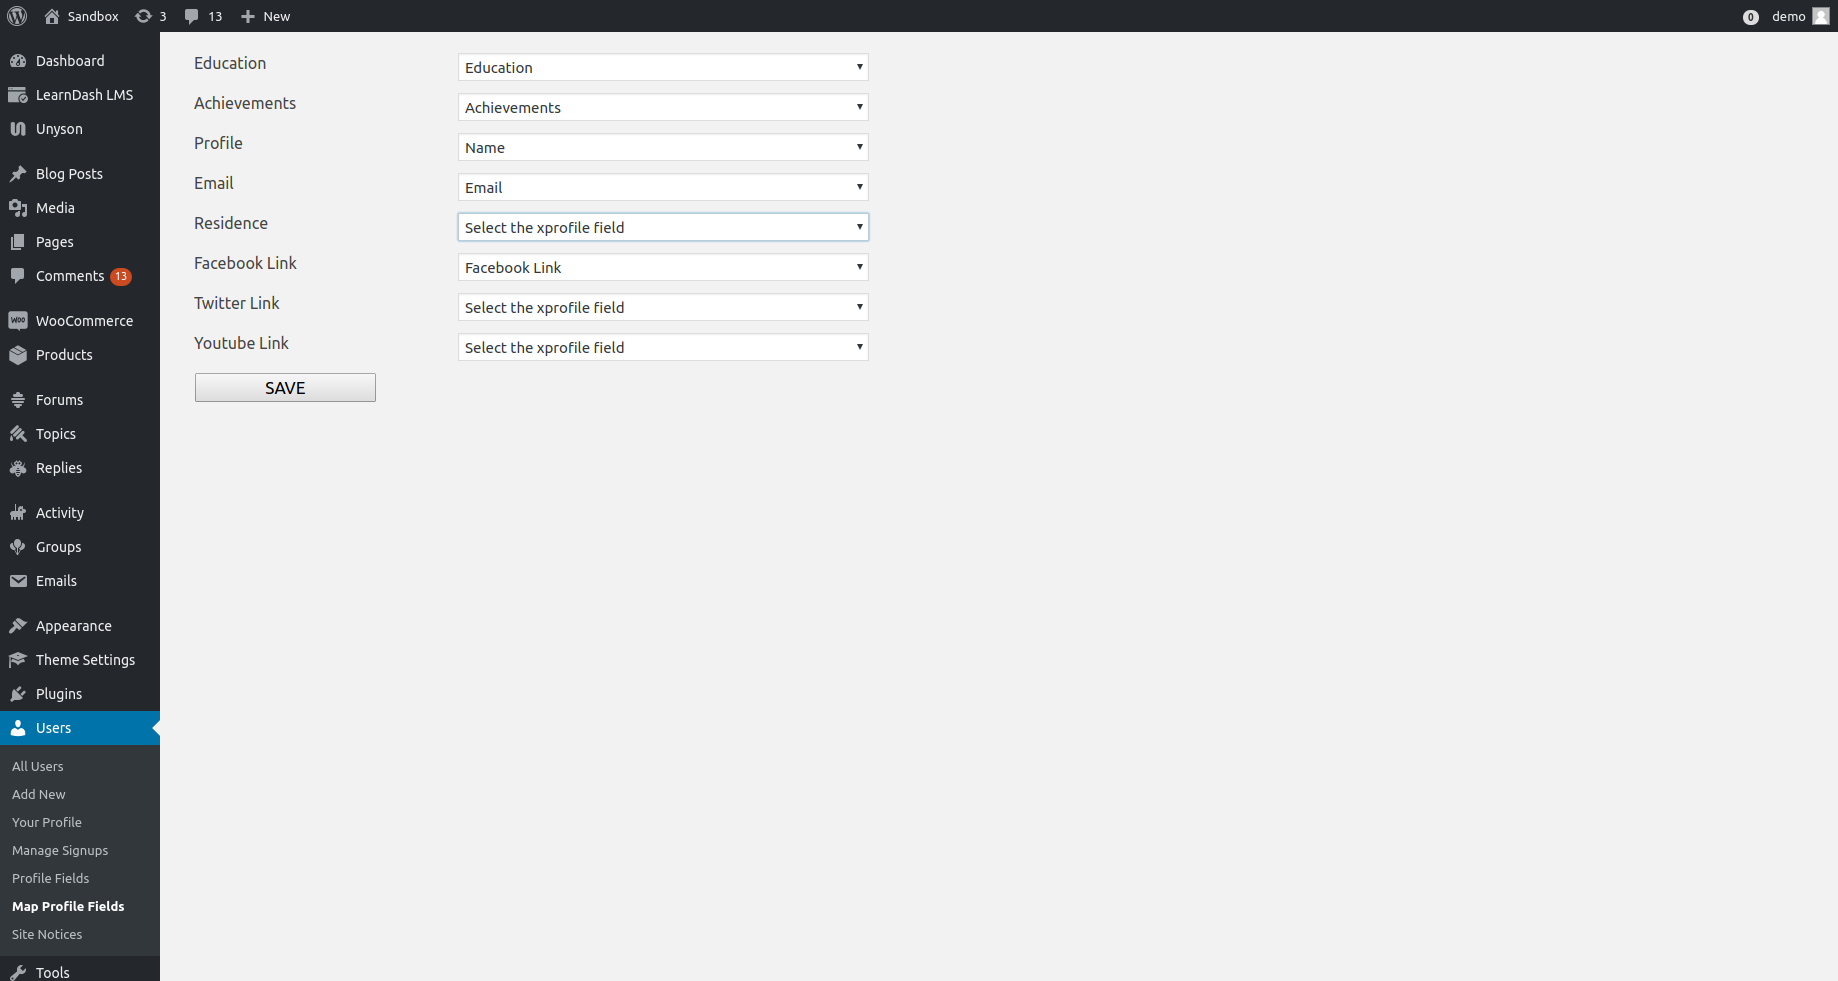
Map Profile Fields
- Navigate to Dashboard > Users > Map Profile Fields admin page.
- Select the fields corresponding to the options available.
- There are two “special” qualification fields shown on the profile page.
- By default, those are “Education” & “Achievements”.
- You can change the label displayed on the profile page using the text input fields available against each of these fields.
- You can also change the icons shown against those fields by clicking on the “Change Image” button.
- Now click the Save button.
Now, each user will be able to set up their profile from the front-end. They just need to visit their BuddyPress profile page and click on edit.