We realized the importance of live preview when customizing your website, and eLumine offers Customizer support to edit your website settings with preview. The theme includes 9 settings right now and will likely add more in the upcoming updates.
The customizer settings trump all other settings unless you explicitly style an element using a page builder plugin.
These settings are still evolving so we will continue providing more settings based on customer feedback. If you have any suggestions or would like to see a particular setting here, contact us here and share your ideas.
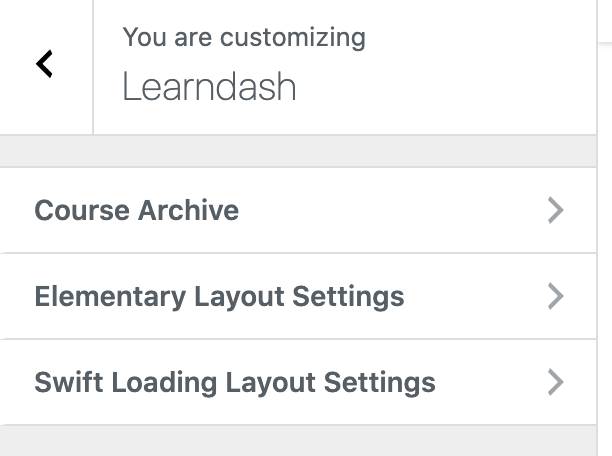
LearnDash Settings
These settings section will allow you to customize your course archive page and your course/lesson/topic/quiz single page for enrolled users. (only for swift loading and elementary layouts).
There are three settings panel available under LearnDash Settings:
- Course Archive
- Single Course (Elementary layouts)
- Single Course (Swift Loading layouts).
Course Archive
This settings panel will allow you to configure the following things.
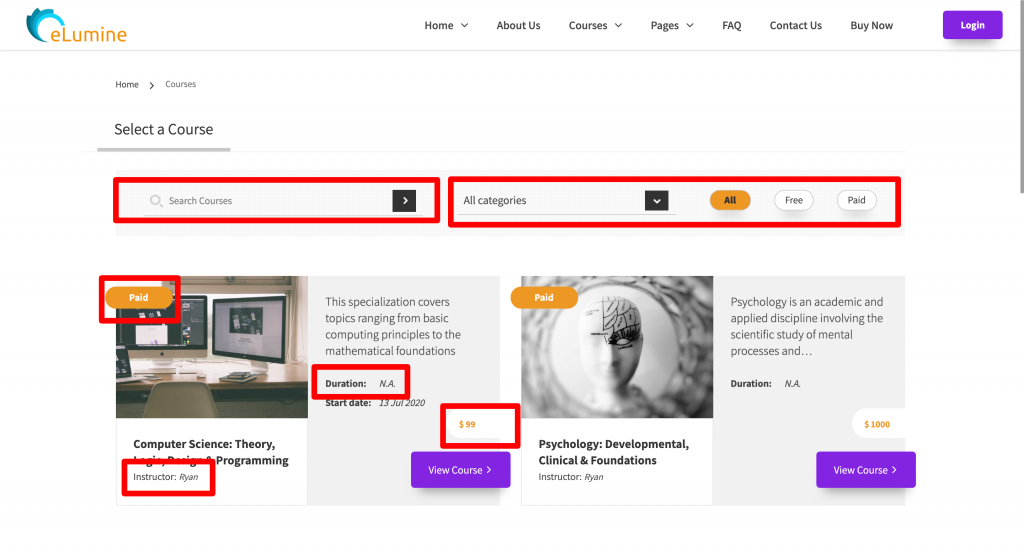
- Show/hide different elements on your course archive page such as
- Price Filter
- Category Filter
- Search Filter
- Course Type tag
- Instructor Name
- Course Duration
- Current Progress
- Change the course archive page title.
- Select whether to show a linear progress bar or circular progress bar.
- Select whether to show a list view or a grid view.
- Select whether to show only a specific category. (Note: Please hide the category dropdown from the above-mentioned option if you wish to use this setting.)
- You can select the order in which the courses are loaded i.e., based on ID, Title, Date & Menu Order.
- Also, select whether to show the courses in Ascending order or Descending order based on the above parameters.
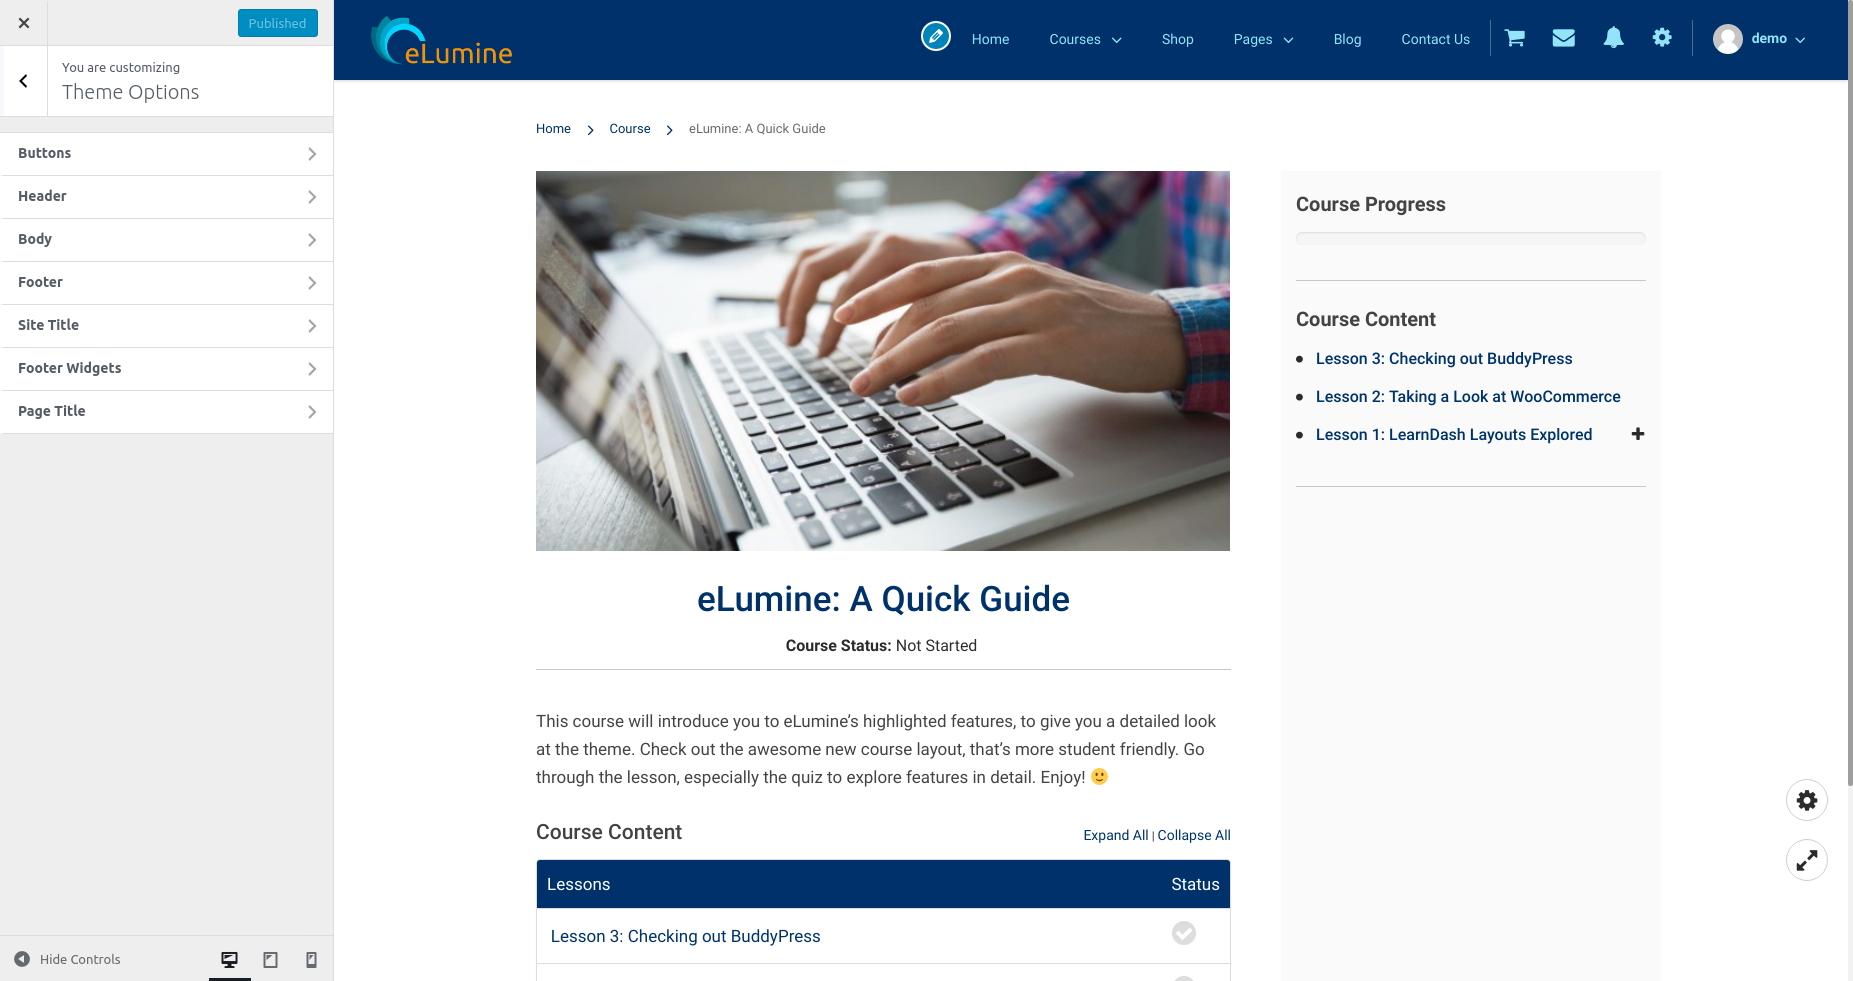
Single Course Page Settings(Elementary layouts)
This panel allows you to select the position i.e., left/right where you wish to show the sidebar.
Single Course Page Settings (Swift Loading)
There is a setting called ‘Show Sidebar on Course Page’ which shows course sidebar on the course single page.
These settings allow you to change the color of
- Sidebar Background
- Sidebar Links
- Current Lesson Background
- Progress Bar/Completion
- Content Background
- Content Text.
You can change the width of the page container using the Content Width setting.
There is also an additional option available which allows you to specify how the cover image is shown on your course page.
- Full width (stretch): This means the image will be shown as an end-to-end cover/banner image.
- Default Image: This means the image will be shown in original Size i.e., Show an original size image.
- Container Width: This means the image will be shown only as wide as the container.
Breadcrumbs Settings
This setting allows you to configure whether you wish to show the breadcrumbs on the website.
Buttons Settings
These settings are used to modify the buttons present throughout the website. You can change the button appearance such as Rounded Buttons, Square buttons, etc.
In addition to this, you can also change the background color, text color and border color for the buttons.
Header Settings
These settings allow you to customize your website’s header as the name suggests. Here you can change
- The background and text color of your header
- The background and text color of your submenu.
- The hover text and background color of your menu.
There is also an option available to set a separate logo for mobile devices.
Body Settings
These settings allow you to change the background color of your website and even set a background image to it. If both of these are set then the background image will have a higher priority.
Footer Settings
This setting allows you to change the background color and text color to the website footer.
Site Title
If you are showing a website title instead of a logo or along with a logo then you can change the Font Color for the title here.
Footer Widgets
Using footer widgets? You can now change the background color and text color of your footer widgets here.
Page Title
This setting allows you to change the font color of the page titles across your website or even allow you to hide page titles throughout the website.