

The Contact Form 7 is the most downloaded and used plugin to create forms. The plugin can be used to create simple forms dynamically using several tags offered like Text field, Email, Checkboxes, Date, etc. These tags are predefined. But let’s say you would want to add some element of your own apart from what the form provides, for example an image or your company logo.
You could probably create your own custom tag, but this would be a lengthy process and not all of us are coding experts to achieve this easily. Explained below is a method to achieve this using simple HTML code which anybody can use. Not only can we use it to add an image but we can extend the idea to add any other field such as a table or footnotes if desired. Do note that this solution is to make a change only for an individual form.
[space]
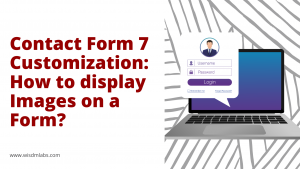
Add an Image to Contact Form 7
Lets us take a use case to add a company logo in the comments form. Our form would contain fields for name, email, comments, the logo (which we would want to display) and a submit button. The logo would be some file ‘abc_logo.png’.
The first thing you would want to do is to upload the logo file (if not present already) in the media files from the dashboard. This provides us with the path for the file which we will be using to display the logo.
Our code for the form would have to look something like this:
<p>Your Name (required)<br/>
[text* your-name] </p>

<p>Your Email (required)<br/>
[email* your-email] </p>

<p>Your Comments<br/>
[textarea comments x4] </p>

<!-- add company logo -->
<div >
<!-- specify the url path for the image -->
<img src="http://localhost/wordpress/wp-content/uploads/2014/01/abc_logo.png">
<br/>
</div>

<p>[submit "Send"]</p>
If we were to add the form to a page, the output would be:

Similarly we can add any WordPress UI element using simple HTML code. Just add the corresponding HTML code for the desired element in place of the image tag. It could be a simple link, an image link, maybe a table or a customized button. This code could be placed anywhere in your form. This is a much neater and design friendly solution than changing the core code of the plugin. Be sure to leave comments if you have any further questions or suggestions for a better way of achieving the same.


4 Responses
I know this article is a little older but how can I design my form to look like this?
@taren terrill Are you still in need of a custom form?
Even if it is old, you can do like this in the new versions.
Is there way to add image beside my checkbox??